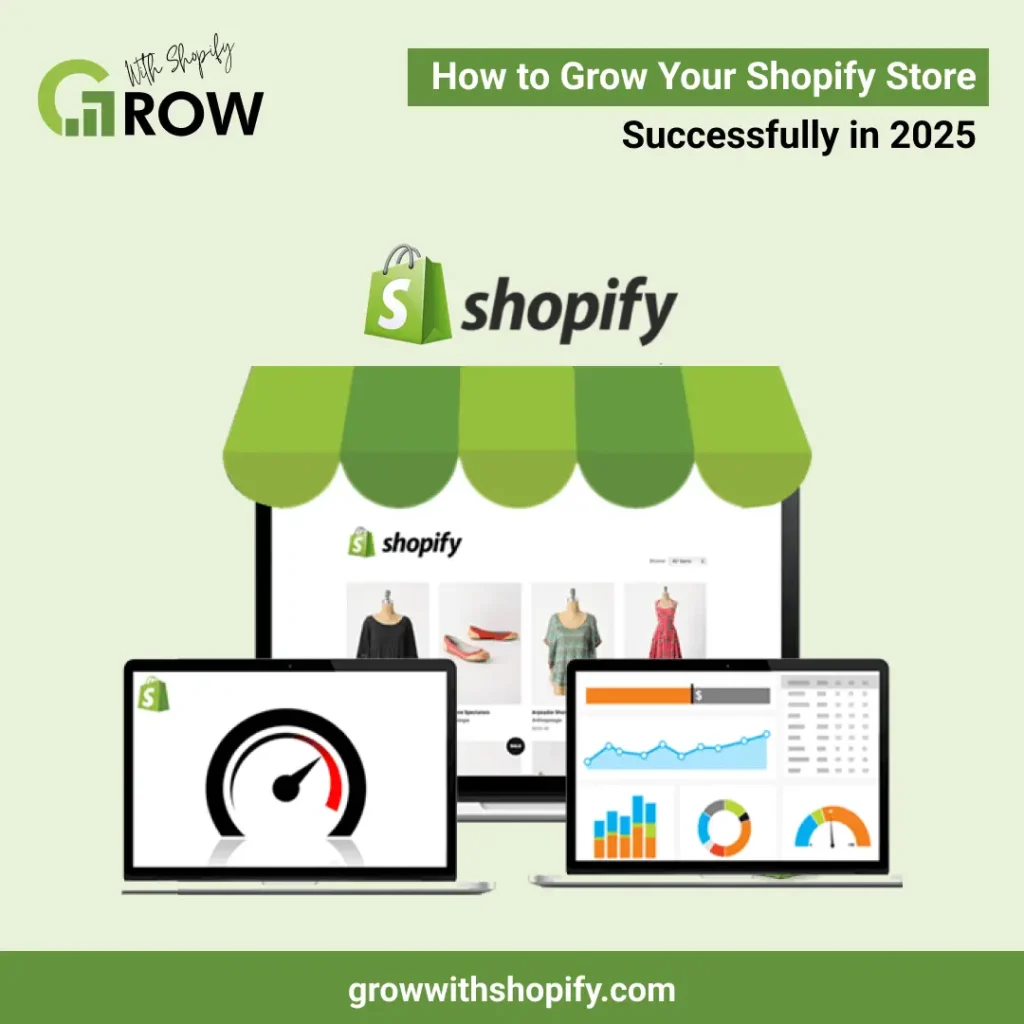
Did you know that some of the world’s biggest brands, like Netflix online shop, Red Bull, and Heinz, use Shopify to sell their products? Shopify has grown a lot since it started in 2006 as a platform for selling snowboarding gear. Today, it’s one of the most popular eCommerce platforms, helping businesses make over $700 billion in total sales. If you’re wondering how to start a Shopify store, you’re in the right place! This platform makes it easy for anyone to create an online store without technical skills.
With over 4 million active websites using Shopify, it’s a trusted and powerful tool for selling products online. Whether starting a small business or expanding an existing one, Shopify gives you everything you need, from website design to payment processing. In this guide, I’ll walk you through the entire process. By the end, you’ll be ready to launch your own successful Shopify store.
Let’s get started!
Best 10 Steps to How to Start a Shopify Store
Launching a Shopify store is more straightforward than you might expect! Start your Shopify journey with a discount and follow these 10 simple steps to set up your online shop, customize it, and start selling successfully.
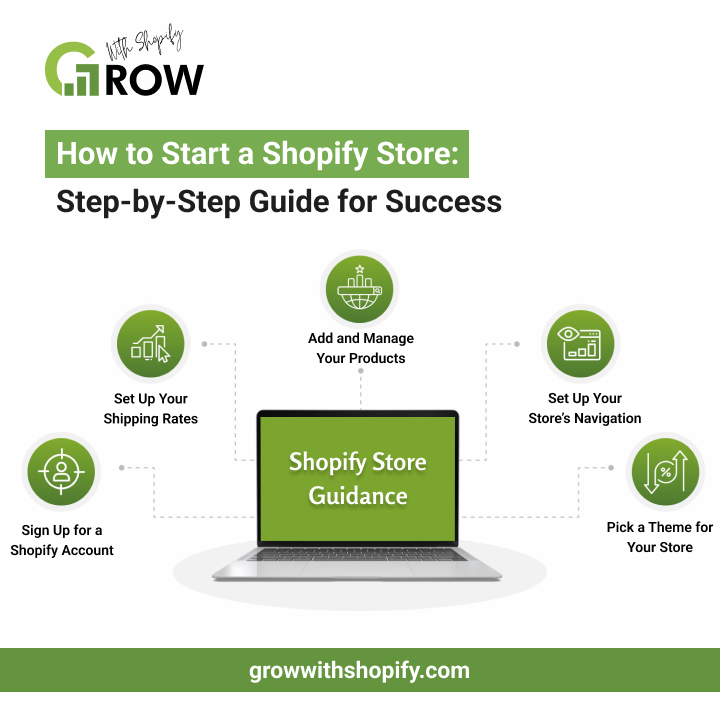
1. Sign Up for a Shopify Account
Go to Shopify’s website and click the “Start free trial” button. You’ll see a few questions about your business, but you can answer them or skip them if you are unsure.
Enter your email, create a password, and choose a unique store name. Once that’s done, you’ll be taken to your Shopify dashboard to start setting up your store. This is where you’ll manage everything—products, payments, and orders.
If you’re wondering how to start a Shopify store, this is the first step! Shopify offers a four-day free trial to explore its features before committing. Take your time to browse the settings and get familiar with the platform. The easier you understand it now, the smoother your store setup will be!
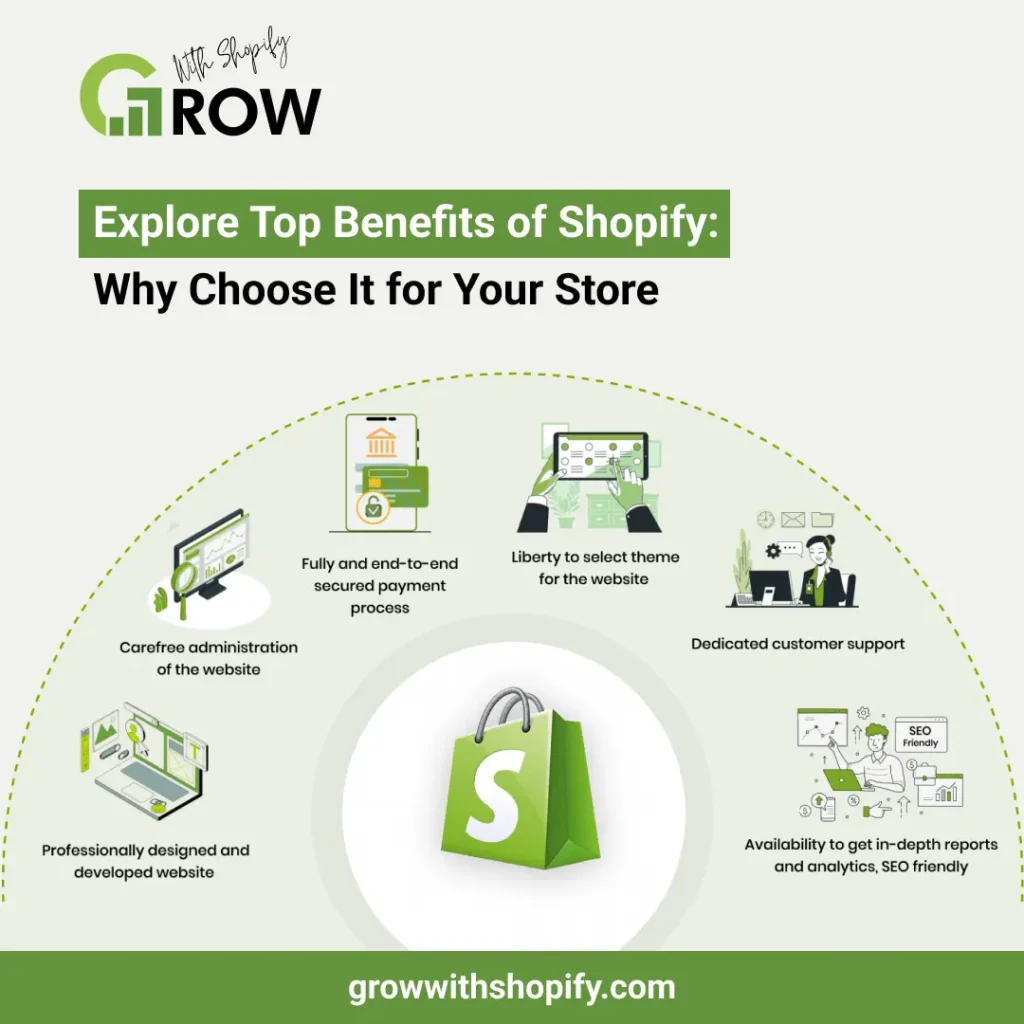
2. Explore the Shopify Admin Panel
Once you’re in your Shopify dashboard, you’ll see several important features to help manage your store:
- Orders: View and handle customer orders, process refunds, and manage shipping.
- Products: Add new products, upload images, write descriptions, and set prices.
- Customers: Keep track of customer details and manage your contact list.
- Content: Publish blogs and pages to improve your store’s visibility and engage visitors.
- Finances: Monitor your store’s earnings, expenses, and profits in one place.
- Analytics: Check your sales numbers, revenue, and product performance over time.
- Marketing: Run ads, send emails, and use social media promotions to boost sales.
- Discounts: Create special offers, discount codes, and free shipping promotions.
- Apps: Install apps to add more features, like live chat, reviews, and automation tools.
If you want to start your Shopify journey with benefits, click here and get access to exclusive features, discounts, and expert tools to make your online store a success! Don’t miss out on the opportunity to grow your business correctly.
3. Pick a Theme for Your Store
When creating a Shopify account, your store has a default theme. But if you want a different look, you can easily change it. Go to your Shopify dashboard, click Online Store, and select Themes from the dropdown menu.
To find a new theme, scroll down to the Popular free themes section for Shopify’s top free themes. Click Visit Theme Store to explore free and paid themes for more options.
Once you find a theme, click Add to save it in your Theme Library. To see how it looks before using it, click the three dots on the theme and choose Preview.
This Preview helps you understand how your store will look to customers, so take your time and pick a design that fits your brand!
4. Set Up Your Store’s Navigation
Navigation helps customers quickly find products and pages in your store. To set it up, go to Online Store in your Shopify dashboard and click on the Navigation section.
To customize your footer menu, click the Footer menu link > Add menu items. A side panel will appear where you can name your menu items and add links to your store pages.
Shopify also lets you create nested menus and group similar products or pages under dropdown menus. This makes browsing more manageable for your customers and improves their shopping experience.
Click my link to get discounts with a Shopify partner. Enjoy exclusive offers, expert tools, and powerful features to grow your store successfully! Take advantage of special deals and start building your Shopify store with extra benefits today.
5. Add and Manage Your Products
Adding and organizing your products is a key step in setting up your Shopify store. Here’s how you can easily add, duplicate, edit, and manage your products:
- How to Add a New Product:
- Open your Shopify dashboard and go to Products.
- Click on Add product.
- Enter the product name, description, price, and upload images.
- Once everything is filled in, click Save to add it to your store.
- How to Duplicate a Product:
- In the Products section, select the product you want to copy.
- Click Duplicate and enter a new name for it.
- Click Duplicate product and make any necessary changes.
- How to Edit a Product:
- Go to Products and select the item you want to update.
- Adjust the name, price, images, or description.
- Click Save to apply the changes.
- How to Manage Product Visibility:
- Select the product from the Products tab.
- Click Manage > Manage sales channels.
- Choose where your product will appear, such as your website, social media, or other platforms.
- Click Done, then Save.
A well-organized product page with clear descriptions and high-quality images makes shopping easier for your customers. Keeping your inventory updated ensures a smooth experience and helps boost sales!
6. Add Pages to Your Shopify Store
When learning how to start a Shopify store, creating important pages like About Us, Contact, and FAQs helps make your store look professional. Go to Online Store > Pages in your Shopify dashboard to add pages.
To create a new page:
- Click Add page.
- Enter a title and content for your page. The title should be clear and relevant, as it will appear in search results and browser tabs.
- Use the text editor to format content and add links, images, videos, or tables for a better presentation.
Next Steps:
- Set visibility: Choose whether the page should be published immediately, scheduled for later, or hidden.
- Save the page: Click Save to add the new page to your store.
- Add the page to your navigation menu: To make the page visible to visitors, go to your store’s navigation settings and add a link.
- Edit an existing page: To update a page, go to Pages, select the page, make changes, and click Save.
Building well-structured pages improves customer trust and enhances their shopping experience. Need help setting up your Shopify store? Reach out to our experts and take the next step toward success!
7. Set Up Your Shipping Rates
Setting up shipping rates ensures customers see clear delivery costs at checkout. To do this, go to Settings > Shipping and Delivery in your Shopify dashboard, select your shipping profile and click Manage.
How to Add Shipping Rates:
- Add a shipping rate: Click Add rate, name it, and set the cost based on weight, location, or price.
- Set conditions (optional): To offer different rates, create shipping rules based on order weight or price range.
- Adjust calculated rates (optional): You can increase or decrease the price using carrier-calculated rates.
- Save the rate: Click Done, then Save to apply the changes.
- Offer local currency shipping (for Shopify Payments users): If using Shopify Payments, you can set flat shipping rates in multiple currencies for international buyers.
Why Shipping Rates Matter
Keeping your shipping costs clear and fair helps build trust with customers. Regularly reviewing your rates ensures they stay accurate and competitive, making your store more appealing to buyers.
8. Link Your Domain to Your Shopify Store
Connecting your domain makes your store look professional and easy to find. Follow these simple steps to link your domain to Shopify:
- In your Shopify dashboard, go to Settings > Domains.
- Choose Buy new domain if you want to purchase one, or click Connect existing domain if you already own one.
- If connecting an existing domain, enter your domain name and click Next.
- Click Connect automatically, then click Close to complete the setup.
- The domain may take up to 48 hours to be verified. Once verified, it will show as Connected in the Domains section.
Using a custom domain makes your store memorable and helps establish customer trust. Shopify lets you buy one directly through the platform if you don’t have a domain. A branded domain name improves your store’s identity and helps with SEO, making it easier for people to find your business online.
9. Test Your Shopify Store Before Launch
Testing everything before launching your store is important to ensure the checkout process runs smoothly. A test order will help you see what your customers experience when they shop.
How to Place a Test Order:
- In your Shopify dashboard, go to Settings > Payments.
- Click Edit, check the Use test mode box, then click Save.
- Open your online store and add a product to your cart.
- Go through the checkout process just like a real customer would.
By testing your store, you can catch errors and fix them before customers start buying. This step is essential when learning how to start a Shopify store, as it ensures everything—from product selection to payment—works perfectly.
Join Shopify with me today and build your online business with confidence! Click my link to get started and enjoy expert guidance, exclusive benefits, and a smoother setup process.
10. Make Your Shopify Store Live
Once you’re ready to open your store to the public, you must remove password protection so customers can access it.
How to Launch Your Shopify Store:
- In your Shopify dashboard, go to Online Store > Preferences.
- Scroll down to the Password Protection section.
- Uncheck the box that says Restrict access to visitors with a password.
- Click Save to apply the changes.
Once you remove the password, your store will be live and open to customers. Now, people can visit, browse your products, and start shopping. Congratulations—your Shopify store is officially launched!